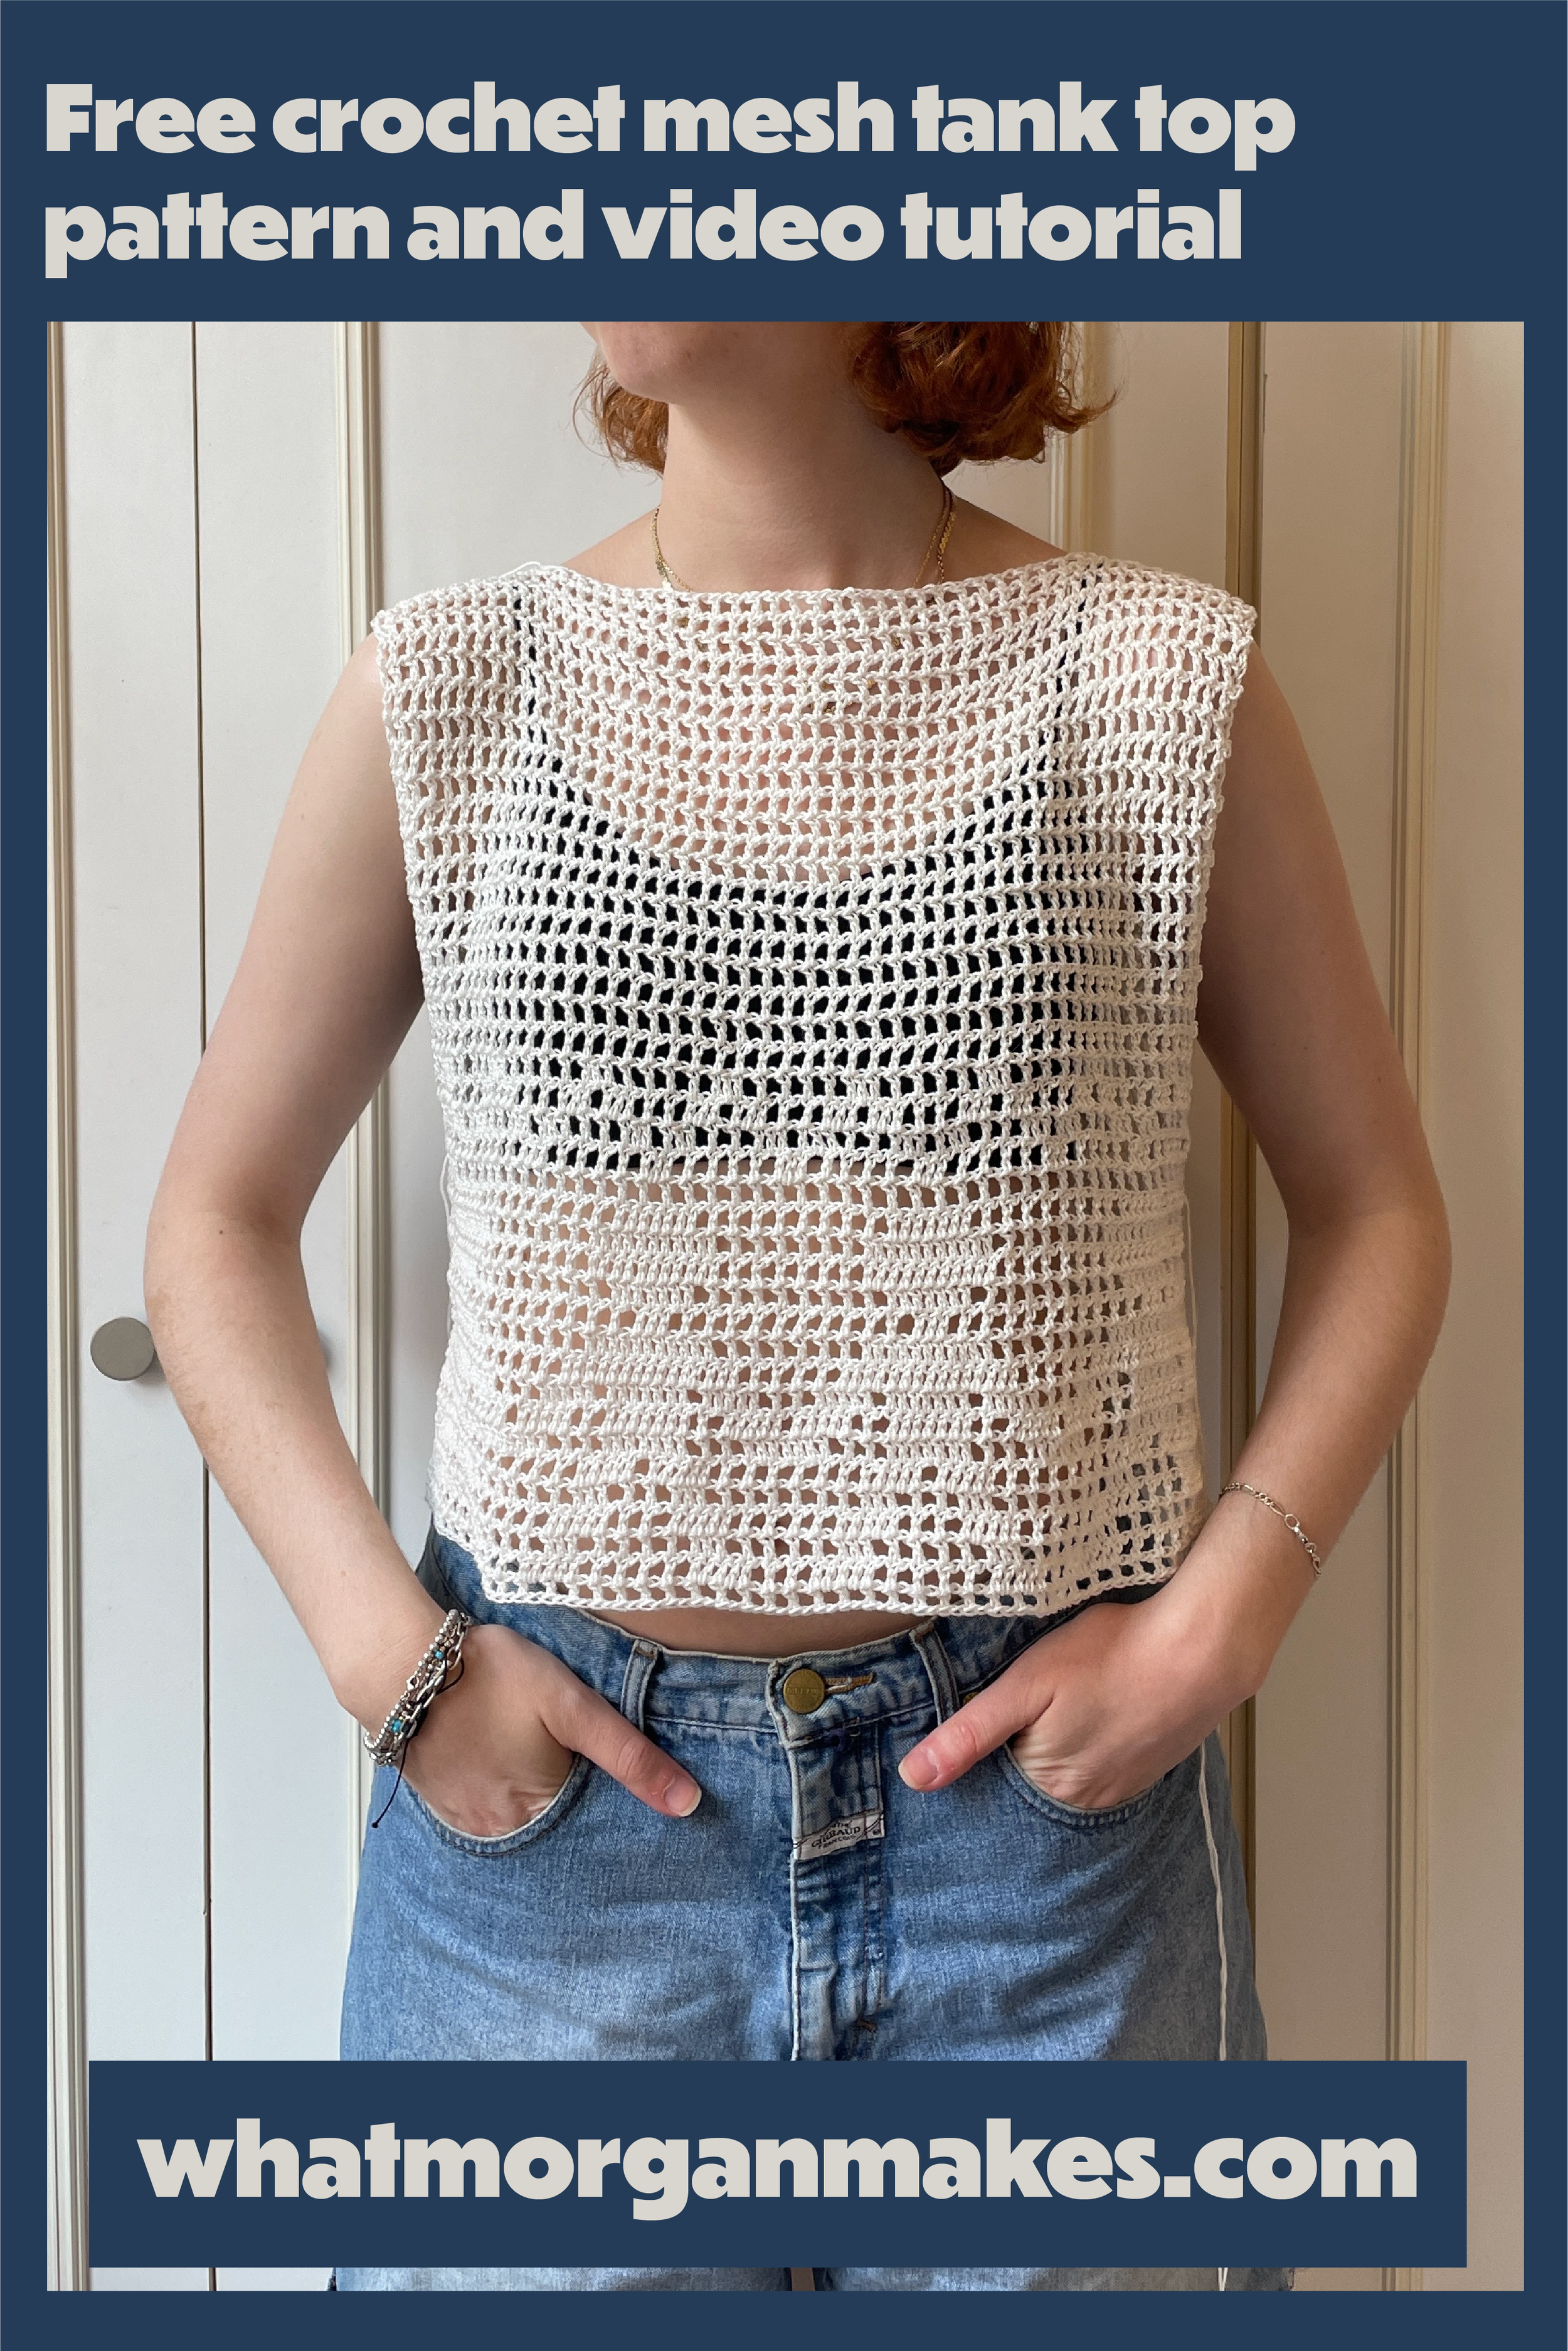
The Mesh Paper Chain Tank
This post may include affiliate links
Skill Level
If you can chain and double crochet, this pattern is for you! The hardest part might be reading the chart, but other than that it is very beginner friendly. The front and back panel are worked the exact same, and it is super easy to make modifications so that it fits you perfectly!
Techniques Used
Double crochet
Chain
How it fits
The top is meant to be boxy and oversized, with no changes in the width throughout. You can make it cropped or longer so that it is the perfect length for you. I made a size small.
Construction
This top is made with two identical panels. Starting at the bottom and working your way up, you can then decide to add a bit of shaping at the top. Once the two panels are done, we’ll sew them together at the shoulders and the sides. As the panels are essentially rectangles, you can choose how big you want the armhole to be.
Notes
This pattern is written in American Terms
The turning chain (ch 2 or ch 3 at the end of the row) does count as a stitch. The ch 2 is the first dc in the next row, and the 3rd chain is the first ch 1 if the first st is a regular mesh st. If the first st in the next row is a filled st (see chart), chain 2 to start.
Remember at the end of each row, you will be crocheting into the second chain from the beginning of the previous row.
All sizes will be following the same instructions. We will use the bracket system of sizing — xs (s, m, l, xl) (2xl, 3xl, 4xl, 5xl). Wherever you size is here in the brackets, that is the number you need to follow in the pattern when all sizes are instructed at the same time. For example – if it says Chain 59 (65, 71, 77, 83) (89, 95, 101, 107), for XS ch 59, S ch 65, M ch 71, L ch 77, XL ch 83, 2XL ch 89, 3XL ch 95, 4XL ch 101, 5XL ch 107.
Materials
I used DMC Babylo No.5 Crochet Thread in Ivory, and a 3 mm hook. You will also need a measuring tape, darning needle, and stitch markers.
Stitches and Abbreviations (US terms)
Ch – chain
Dc – double crochet
St – stitch
Mesh Stitch
Throughout this top we will use the mesh stitch. In this case, aside from the chart, the mesh stitch consists of a repeating pattern of one double crochet and one chain.
Gauge swatch
In the regular mesh st – dc, ch 1 + sk a st, dc repeated.
4″ = 22 sts, 9 rows.
Your gauge in the regular mesh stitch should match the above, however once we add the filet work, it changes the gauge a bit, so the row count may not match the above gauge exactly.
Measurements and Sizing
As previously mentioned, this is designed with a slight oversized fit in mind, with appx 2-4″ of positive ease in the body based on bust measurement. As well, the yarn needed shown is an approximation. This will change based on the yarn you use. For reference below, the yarn I used is 290yds/100g.
How to read the chart
The dots inside the squares represent where there is a dc instead of a ch. The vertical lines (sides of squares) are all dc sts. Where there is nothing inside the square, that is a ch 1 and sk a st. If there are two filled squares on top of each other, dc into the dc from the previous row.
Let’s get started!
To start, chain 91 (101, 113, 123, 135)(145, 157, 167, 179)
Row 1: Starting in the 5th chain from the hook, dc. Ch 1, then skipping a ch, dc. Repeat the pattern of ch 1, skip a ch, dc until the end of the row. Chain 3 and turn. You will have 89 (99, 111, 121, 133)(143, 155, 165, 177) sts.
Rows 2-23: Follow the chart for the filet design, starting at the bottom right corner. Each size will work across the chart to their respective line. This will match the number of stitches you have for your size. The lines read right to left starting at red as XS, and continuing in the order as previously mentioned.
Rows 24-42(42, 45, 45, 49)(49, 53, 53, 56) : Continue in the mesh stitch (Dc, ch 1 sk a st) for the correct amount of rows, or until desired length. Chain 3 at the end of each row, and turn.
At this point, you can either stop, or continue with the shoulder row.
Optional shoulder row: Crochet in the mesh stitch for how wide you want the shoulder to be. Attach on the other corner of your panel and repeat for the same number of stitches.
Repeat the same steps to make the back panel.
Assembly
Lay the two panels with one on top of the other. If you did the extra shoulder rows, sew together the top shoulder rows. If not, mark how wide you want your shoulders to be on each side, and sew together. I sewed 21 sts (this includes the chain sts). At this point, I recommend trying it on to make sure you have the shoulder width you like. At the same time, mark where you want to sew up to on the sides (how big you want your armholes to be). I recommend making them on the bigger side. I sewed up 16 rows from the bottom.
Weave in ends and you are done! Tag me when posting on social media so I can see what you’ve made!
pin these!


